Due to an ever-growing to-do list of dull, dull, dull things I wanted to avoid doing (but had to face eventually) I have been indulging in a lot of displacement activity in the form of dressmaking. As usual, I used vintage fabrics and patterns and I have written a piece about this for sewing blog handmadejane...
I have sewn and made things all my life.
I have also always been a terrible hoarder. Along with vintage clothing, I have
been collecting pieces of vintage fabric since my teens, mostly attracted by
the prints and colours of the early 1960s.
 A few years ago, I started making
children’s clothes from pieces too small for anything else. I found two vintage
children’s patterns that would just squeeze a dress out of a piece of fabric
barely bigger than a cushion cover. My favourite arty, abstract prints of the late
‘50s and very early ‘60s made for something quite different from the small,
cute prints usually associated with children swear.
A few years ago, I started making
children’s clothes from pieces too small for anything else. I found two vintage
children’s patterns that would just squeeze a dress out of a piece of fabric
barely bigger than a cushion cover. My favourite arty, abstract prints of the late
‘50s and very early ‘60s made for something quite different from the small,
cute prints usually associated with children swear.
Having used up most of my stock of
just-about-big-enough pieces of fabric, I allowed myself to start buying fabric
again. I have a real fondness for the large scale prints of mid-century
furnishing fabrics and if I can find a curtain (I never cut up a pair) with
enough usable fabric left after the sun damage to the edges and any paint has
been cut off (old curtains were often used as dust sheets for decorating), this
can make an adult-sized dress.
 For this dress,
I particularly enjoyed playing with the contrast of skeletal winter trees with
a sleeveless summer dress. But there was also the fact that there was so much
damaged fabric there was not enough left for the sleeves!
For this dress,
I particularly enjoyed playing with the contrast of skeletal winter trees with
a sleeveless summer dress. But there was also the fact that there was so much
damaged fabric there was not enough left for the sleeves!
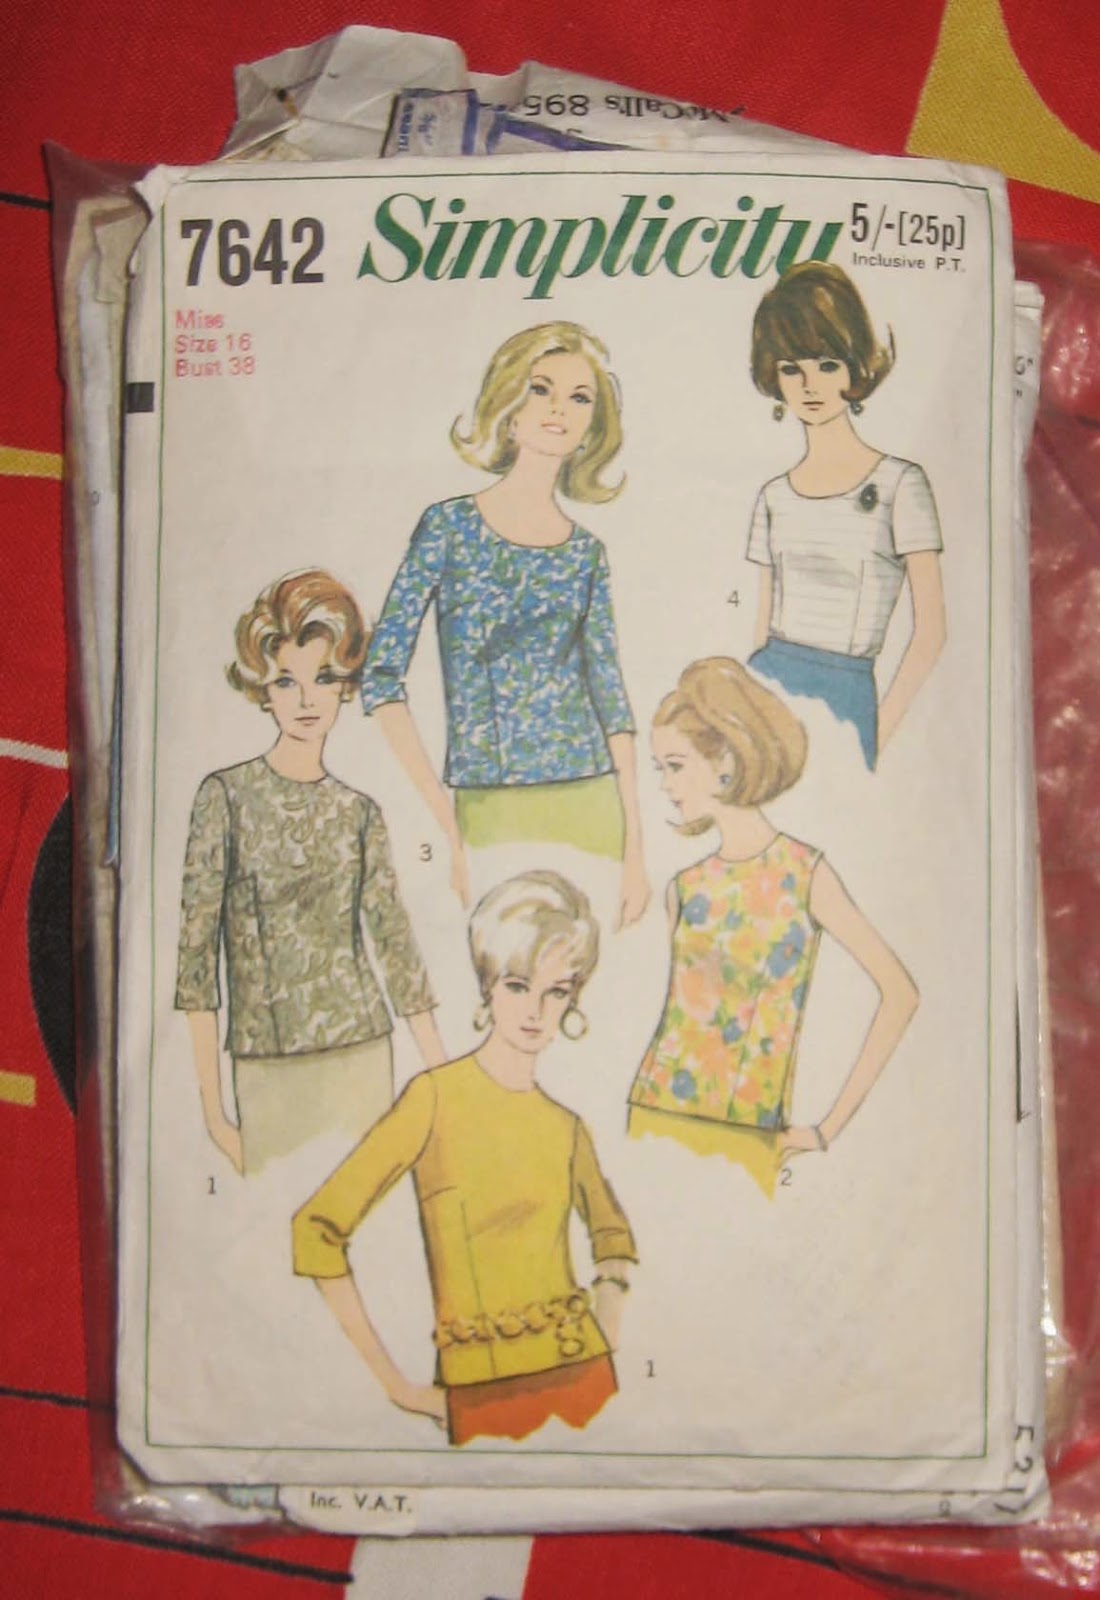
I started collecting vintage patterns
purely for the illustrations on the envelopes. I used to display these in
frames, but luckily I saved all the pattern pieces. Alongside the practical
considerations of salvaging usable pieces of reclaimed fabric, there are also
things to consider about using vintage patterns.
Firstly there’s the sizing issue.
Standardised dress sizes have changed dramatically over the years, so whatever
dress size it says on the pattern, ignore it and go by the bust size instead
(luckily, this is always included).
Secondly there’s the fit: bear in mind
that period clothes were designed to be worn over the underwear of the time –
pointy bras, corseted waists, girdled stomachs. What this also means is that
the bust and waist are generally high and the bust darts may need to be
adjusted unless you’re going to go the whole nine yards with a conical bra!
This high bustline can also mean high and narrow armholes, depending upon the
cut of the garment. The waist-hip ratio
is often more extreme than nowadays (smaller, corseted or girdled waists) – if
a waistband is part of the garment then it may well be a good idea to check and
adjust the pattern.
Finally, these patterns tend to have
more complicated diagrams and verbose instructions than modern ones. It’s not
only patterns – the instructions for my sewing machine (a “Diplomat“ from 1963)
have illustrations with so much intricate detail of the engraving on the deluxe
model that there is no way of seeing the complicated route the thread is
supposed to take. So make some time to read the instructions before you start,
with a clear head – especially if you tend to sew at night when the kids are in
bed, as I do.
I am finding that as my friends’ parents
get older, boxes of fabric from hoarding mothers and grandmothers are coming my
way. One of my friends has given me several large boxes of clothes her mother
never got around to mending and garments she cut out and never made. In one box
alone there were five red and white gingham school dresses to fit a girl of
approximately 7 years old – and my friend is now 50!
The huge advantage of using deadstock
(old but unused) fabric over salvaged fabric is that it will almost always have
been stored away from the light, so there is no fading or wastage. Lots of
these fabrics are of much better quality than you would easily find nowadays,
particularly the linens and wools. The downside is that, if you make to order,
you can’t always have exactly what you’re looking for – you have to wait until
the right thing comes along and some colours are not as common as they are
nowadays. However, if you like the typical colours of a particular period, dyes
are different now and the shades are quite unlike the ones in modern fabrics.
It’s not only the patterns and fabric
I’m giving a new lease of life to – as well as using my Diplomat when I
secretly have a modern sewing machine stored under the bed, never having taken
it out of its box – I also use vintage threads, zips and buttons. I often see free-standing
wooden sewing boxes at fleamarkets and boot fairs. Nine times out of ten these
are still full of threads, notions and equipment. I started buying bagfuls of
this stuff when I was making the children’s dresses and getting through a very
large amount of bias binding and I’m still working my way though all the
threads, hooks and eyes and zips.
My real weakness is buttons: I have jar
after jar of sorted, colour-coded vintage buttons and have to try and stop
myself buying more whenever I see them. Recently I bought a very large tin with
an enamelled design of a Chinese dragon and when I got it home found that it
was full to the brim with sets of beautiful buttons already sorted and bundled.
These two dresses were made from
patterns I’ve been thinking about using for some time. Seven carrier bags of
fabric arrived from somebody’s mother’s hoard a couple of weeks ago, so I had
plenty of fabric to choose from! This wool jersey was
great for an early 1960s column dress, but the fabric was too bulky for the bow
that trims the “empire band” across the bust in the pattern. I was very lucky
to find a deadstock bolt of this leaf print crisp linen in a junk shop – I just
have to remember not to sit on the chair (salvaged, naturally!) I upholstered
with the same fabric when I wear it!


 Kind of Maria Callas meets Amy Butler on the way to look at some Grecian vases.


 It's finished!
 I am still in the grip of sewing mania and it's all I want to do right now. Here are a couple of new bags and a purse, the blue one is made from the last scraps of ties (the thin bits) left over from my mega-project tie pouffe.
 The cat doorstop and the mice brooches were made from a Sarah Young teatowel (www.sarahyoung.co.uk).

 Last week a graphic design job I'd been working on for weeks and weeks finally went to the printers and I could not wait to get sewing again.